How to add a Google Map to Shopify: the free embed, step by step
Copy the embed code from Google Maps, paste it into a section of your Shopify theme, and your store address shows on a live map. Here are the exact steps, the limits of the embed, and what to use when you have several stores.
To add a Google Map to Shopify, open your address on google.com/maps, click "Share", then "Embed a map" and "Copy HTML". Then paste that code into a section of your theme from the Shopify theme editor, save, and the map appears on your page with no API key and no cost.
That covers a single shop on a contact page. The rest of this guide gives the exact steps, how to resize the map for phones, what the embed cannot do, and which option fits when you sell through several stores or stockists.
Step 1: copy the embed code from Google Maps
Do this on a computer. A Google community answer from December 2025 describes the same steps and notes that the mobile app shares a link, with no embed code.
- Go to google.com/maps and search for your store's address or business name.
- In the place panel, click "Share".
- In the "Share" dialog, open the "Embed a map" tab.
- Pick a size from the drop-down: Small, Medium, Large or Custom.
- Click "Copy HTML".
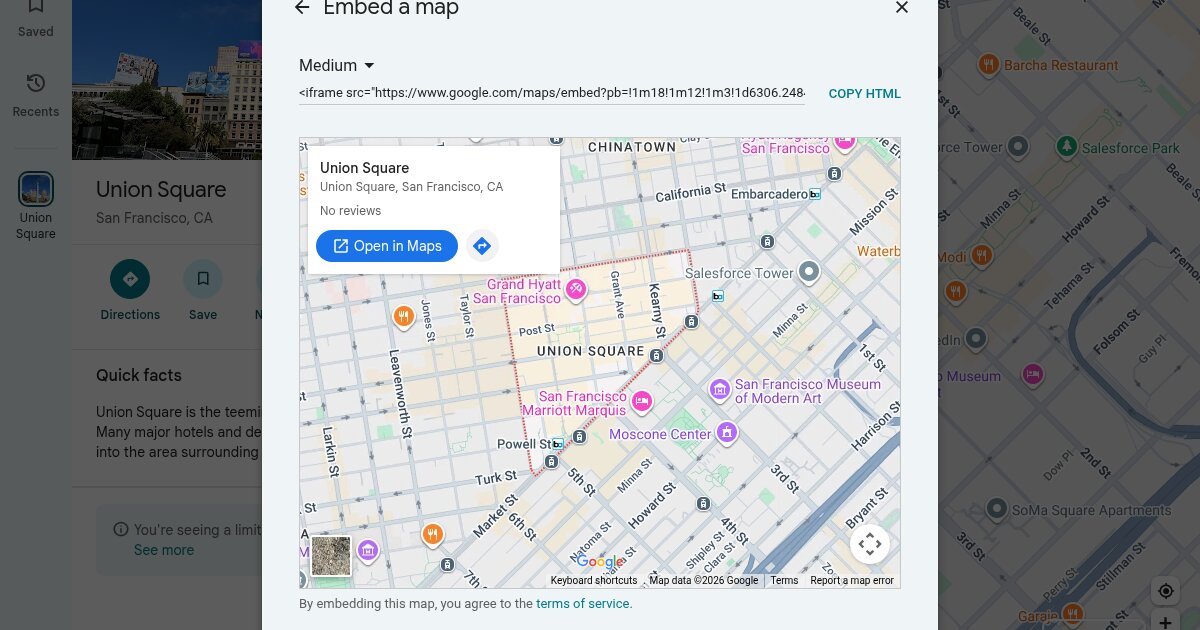
The code you copy starts with <iframe src="https://www.google.com/maps/embed?pb=.... Below the size menu, Google shows a live preview of the map with its place card, and a line that reads: "By embedding this map, you agree to the terms of service."
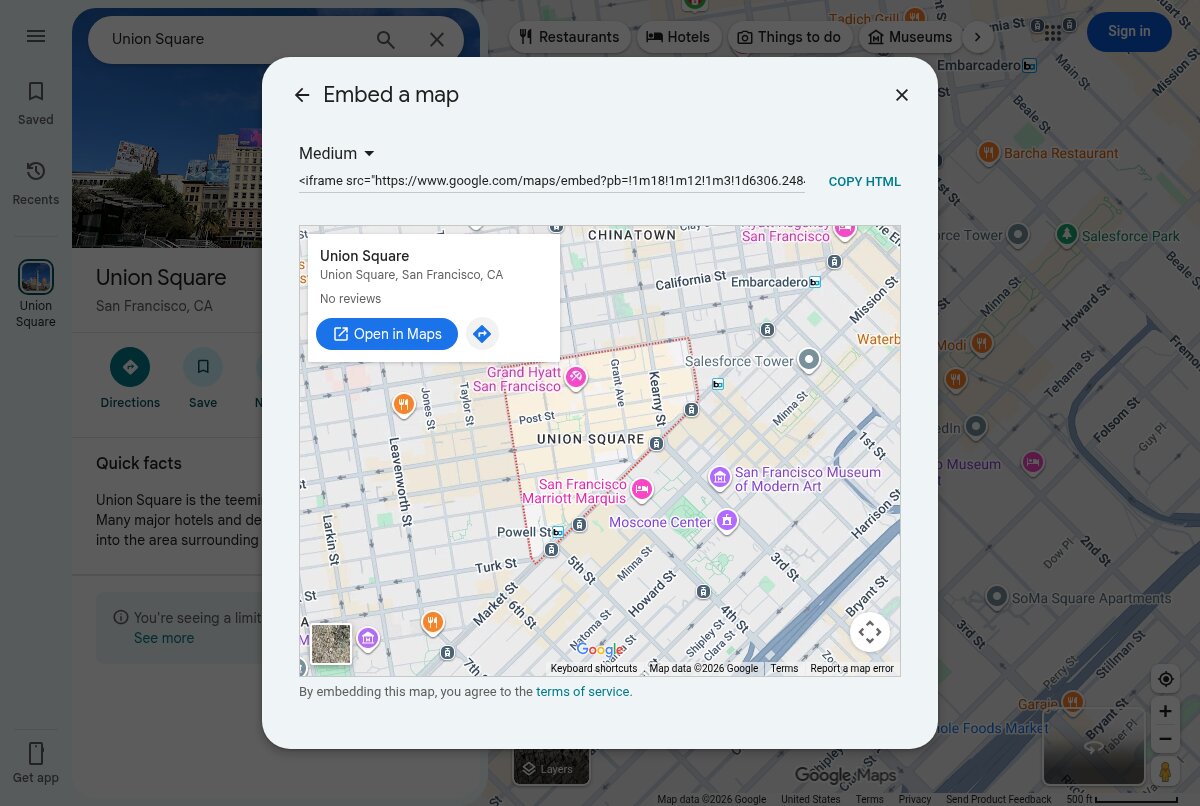 The "Embed a map" tab for Union Square, San Francisco, with the size set to "Medium", the iframe code and the "COPY HTML" button. Source: google.com/maps, captured October 26, 2026.
Google asks for no API key and no Google Cloud project in this flow. Anyone with a browser can copy the code.
Step 2: paste the code into your Shopify theme
Shopify's help center explains how to add a section in the theme editor. The path is the same for a map:
- From your Shopify admin, go to "Online Store".
- Find your theme and click "Edit theme".
- Click the "Home page" drop-down menu and select the template you want, for example the page template that your contact page uses.
- In the sidebar, click "Add section", then use the "Search sections" field.
- Pick a section that accepts custom code. Its name depends on your theme, and many themes include one whose name mentions Liquid or HTML. Your theme's documentation lists it.
- Paste the iframe code into the section's code field.
- Click "Save".
The editor previews the change before you save. If you want the map in a section that already holds text, such as your address and opening hours, look for a block of the same kind and click "Add block" inside that section.
If your theme offers no section that accepts code, Shopify's guide to customizing themes points to editing the theme code, for people comfortable with HTML, CSS and Liquid. Shopify recommends that you duplicate your theme first, so you keep a backup copy.
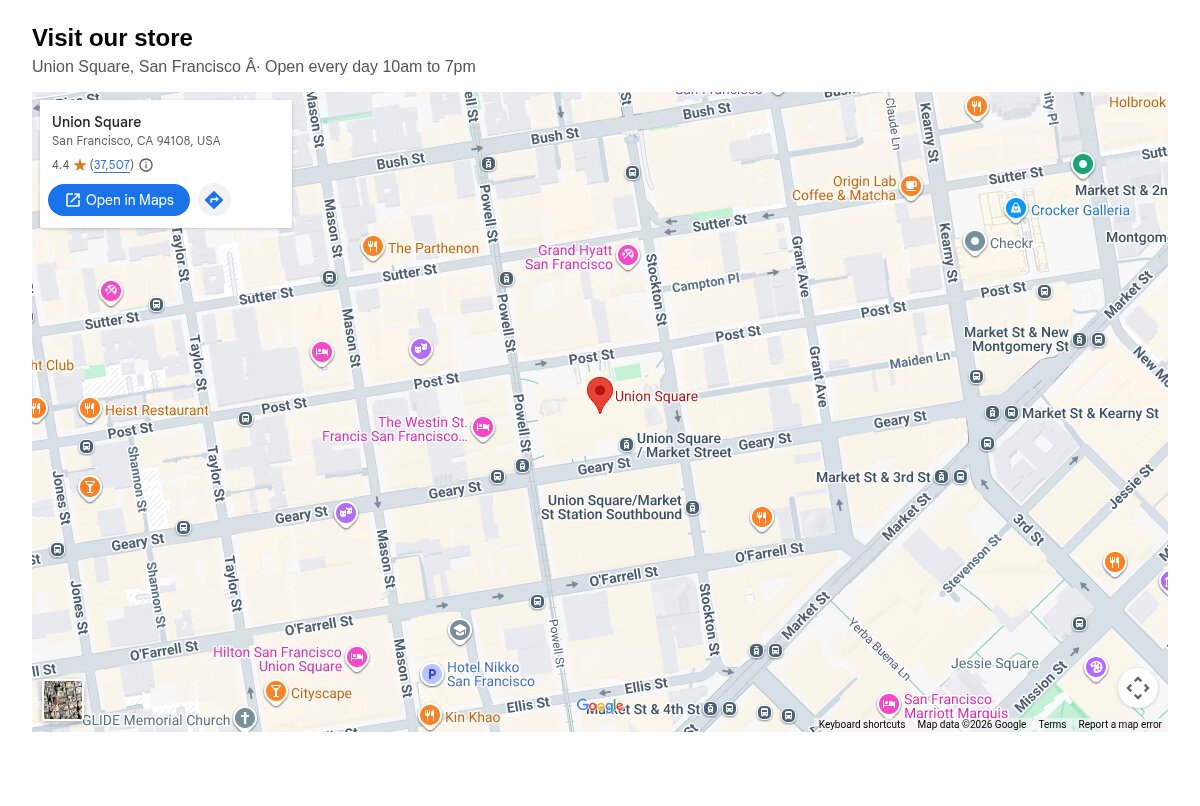 A test page built for this article, with the heading "Visit our store" and the Google Maps embed of Union Square below it. Source: Locastore test page, captured October 26, 2026.
Step 3: resize the map and check it on mobile
The size menu in Google Maps sets fixed pixel values in the code, written as width and height attributes in the iframe. A fixed width that fits a desktop page can overflow a phone screen.
You have two ways to adjust it:
- go back to the "Embed a map" tab, pick another size or "Custom", and copy the code again;
- edit the numbers in the code you pasted. With
width="100%", the map takes the full width of the section, and you keep a fixedheight.
Save, then open the page on your phone or switch the theme editor preview to mobile. Check that the map fills the column without a horizontal scroll bar and that a visitor can still scroll past it.
What the embed cannot do
The Share and Embed method shows one place or one view per embed. Google's help, quoted in a Maps community thread, sets the boundary: "You can't share a map with your saved locations, a map with distance measurement or image of the map itself from Google Maps."
In practice, the embed gives your visitors:
- one pin and its place card, with a link to open the place in Google Maps;
- zoom and pan inside the frame.
It does not give them:
- a list of your stores, or several pins drawn from your own data;
- a search field to type a city or postcode;
- a "near me" button or distances from the visitor;
- filters or opening hours that you manage yourself.
For a single shop, that is enough. Once you have a second location, you have to paste a second embed, and visitors still cannot compare the two on one map.
Embed code, Maps Embed API and Maps JavaScript API
Merchants often mix up three Google tools when they look for a map on Shopify. Here they are side by side.
| Option | API key | Cost | Several pins from your list |
|---|---|---|---|
| "Share" then "Embed a map" on google.com/maps | No | No charge | No, one place or view |
| Maps Embed API (developer iframe) | Yes | No charge, unlimited usage | No |
| Maps JavaScript API (themes, apps, custom code) | Yes, plus billing | 10,000 free map loads per month, then $7.00 per 1,000 at the first tier | Yes, with code |
The Maps Embed API builds the same kind of iframe from a URL that you write yourself. It offers five map modes (place, view, directions, streetview and search) and requires an API key on every request. Google's usage and billing page states that it is free to use with unlimited requests. The search mode shows results for a search across the visible map. Google picks those results, and your own store list plays no part in them.
The Maps JavaScript API is what themes, apps and developers use to draw custom maps with several pins. Google's billing page for that API says that you need to enable billing and use an API key. The Maps Platform pricing list gives the Dynamic Maps SKU 10,000 free loads per month, then $7.00 per 1,000 loads at the first paid tier.
If a theme setting or an app asks you for a Google Maps API key, it uses one of these APIs. Our guide to Google Maps API keys for a store locator walks through creating and restricting one, and our page on Google Maps API pricing for a store locator details the bill.
Several stores: My Maps or a store locator
When you sell from more than one address, or through dealers and stockists, you have two routes.
Google My Maps
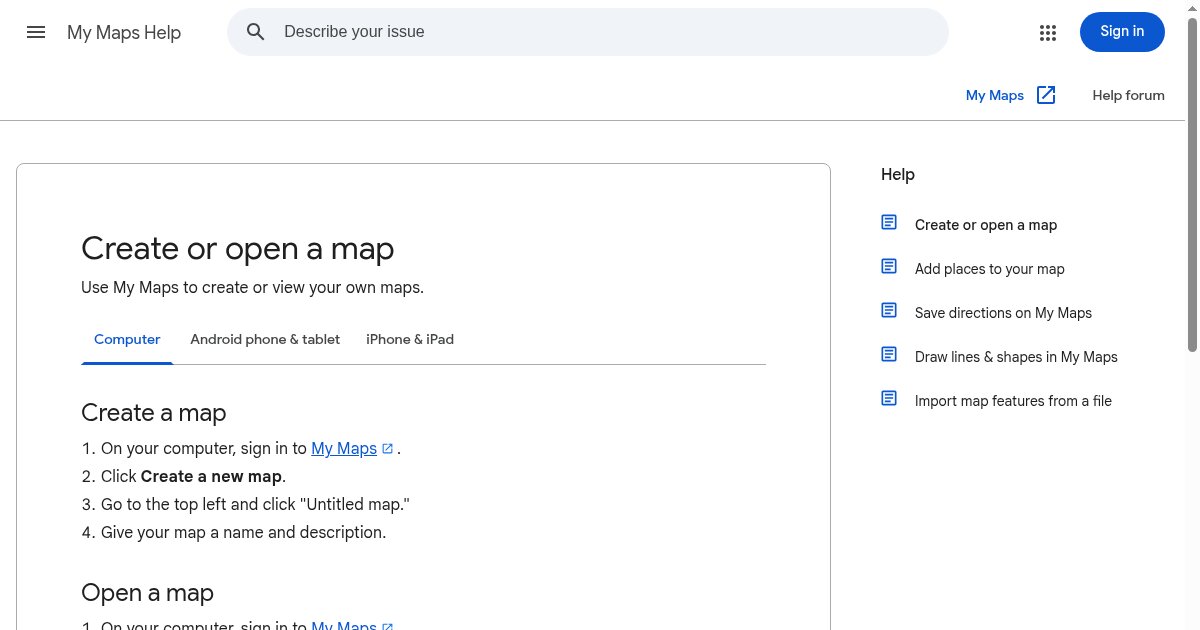
My Maps lets you place several pins on one custom map, then share it from the "Share" menu, including on a website. It works for a short, stable list. You add and update every pin by hand, and visitors get the same limits as above: no search by city and no distances. Our guide to showing multiple locations on a website map covers the steps.
A store locator app
A store locator app reads your list of locations, places them on one map and adds the tools a visitor uses to find the nearest one: search, geolocation, distances, opening hours. On Shopify, most of these apps install as a block in the theme editor, so you place them the same way as the map section above. Our guide on how to add a store locator to Shopify compares the setup, with a comparison of the main options.
Check one point before you install: whether the app runs on the Google Maps JavaScript API with your own key and billing account, or on another map provider.
Locastore for several locations
Locastore adds a store locator to your Shopify storefront, drawn with Leaflet and OpenStreetMap tiles, so you create no Google Maps API key, open no billing account and watch no quota. You import your Shopify locations in one click with their coordinates, upload a CSV file (Starter and up) or type addresses by hand, then add the Store Locator block from the theme editor on any page. Visitors search an address, tap "Near me", see distances and an open/closed badge, and a directions link opens the route in Google Maps. The free plan covers up to 5 locations, Starter ($5 per month) goes up to 30, and Pro ($24 per month) removes the limit, with a 14-day free trial on paid plans.
Frequently asked questions
Do I need a Google Maps API key to add a map to Shopify?
No, if you use the "Share" then "Embed a map" option on google.com/maps. That flow gives you an iframe code and asks for no API key and no Google Cloud project. You need a key only for the Maps Embed API or the Maps JavaScript API, which developers and some apps use.
Is embedding a Google Map on Shopify free?
Yes. The embed code from Google Maps costs nothing. Google also lists the Maps Embed API, the developer version of the same iframe, as free with unlimited usage. Costs start with the Maps JavaScript API, which bills map loads beyond the free monthly allowance.
Can I show several store locations on one embedded Google Map?
Not with the standard embed: one embed shows one place or one view. For several locations, build a map in Google My Maps and share it, or install a store locator app that reads your list of stores and adds search and distances.
Where should I put the map in my Shopify store?
Most merchants place it on the contact page or on a page dedicated to the shop, next to the address and opening hours. In the theme editor, pick the template that page uses, add a section that accepts custom code, and paste the embed code there.