How to add a store locator to your Shopify store (2026 guide)
A store locator turns online browsing into store visits, but only if it is easy to use. Here is what a good one does, the three ways to build one on Shopify, and the setup steps that actually matter.
If you sell online and offline, the gap between the two is usually a page nobody reads. A list of addresses at the bottom of a contact page technically answers the question "where can I buy this near me", but it makes the visitor do all the work: read the streets, guess which one is closest, copy the address, switch to a map app, and hope the shop is open.
A store locator closes that gap. Done properly, it turns a page view into a store visit.
What a good store locator actually does
Before choosing a tool, it helps to know what separates a useful locator from a decorative map.
- Search by city or postal code. Most visitors type a place name, not an address.
- Geolocation. A single "Near me" button sorts everything by distance instantly on mobile, where most local searches happen.
- Distances. "2.4 km" answers a question that a pin on a map does not.
- Opening hours with a live status. Knowing a store exists is not the same as knowing it is open right now.
- One-tap directions. The visitor should never have to copy an address by hand.
- Filters. If you have several kinds of location, such as your own shops, resellers and pickup points, visitors need to narrow the list.
- A mobile layout that works. A map that cannot be scrolled past on a phone is worse than no map.
The three ways to do it on Shopify
1. A manual map section
Some themes ship with a map section, and you can always add a custom Liquid section with an embedded map. This is fine when you have one or two fixed addresses and no ambition beyond showing them.
The limits show up quickly: no search, no distance sorting, no opening hours logic, and coordinates you have to look up and paste by hand every time something changes.
2. A Google Maps based locator app
The most common option. It works, and it comes with a specific cost structure: you create a Google Cloud project, enable the Maps JavaScript API, attach a billing account and generate an API key. From then on, your map is billed per load beyond a monthly free allowance, and you are responsible for restricting that key so nobody else uses your quota.
For a store with steady traffic this is manageable. For a store that gets a traffic spike, or for a merchant who would rather not set up cloud billing at all, it is friction that buys nothing the customer can see.
3. An OpenStreetMap based locator app
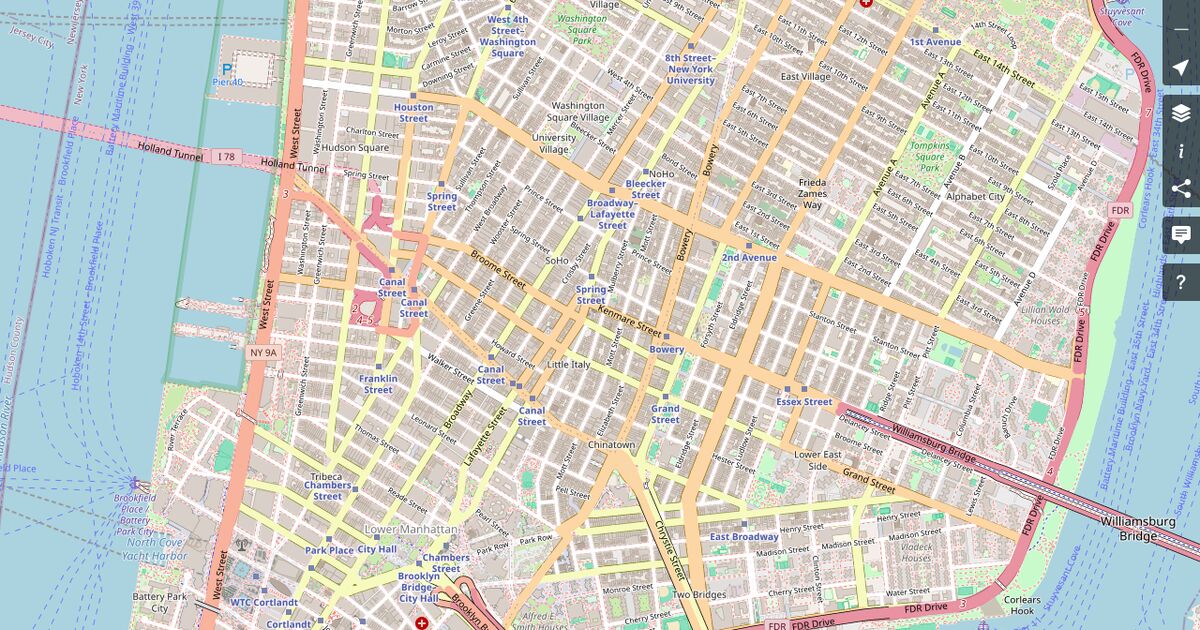
OpenStreetMap is a free, openly licensed world map. A locator built on it renders through a library like Leaflet and needs no key, no billing account and no quota. Coverage is worldwide, and the visitor experience is the same: tiles, pins, zoom, search.
This is the approach Locastore takes, which is why its setup has no cloud console step at all.
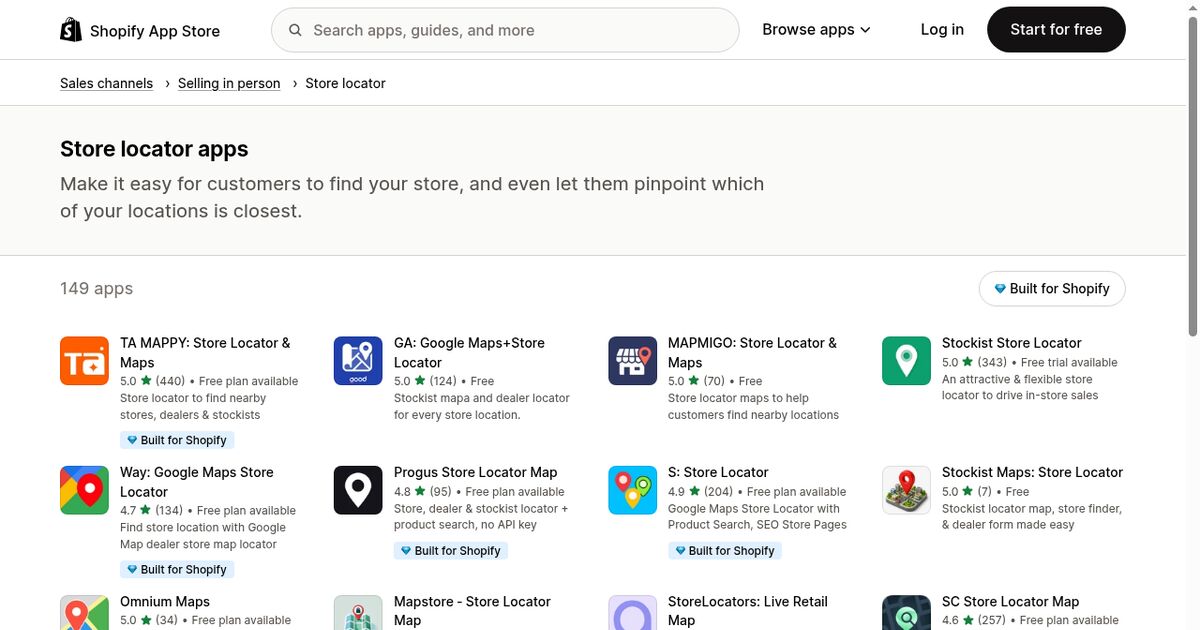
To compare the apps behind options 2 and 3, see our grid of the best Shopify store locator apps by number of locations, or the free store locator options and where each one stops.
Setting one up, step by step
The specifics below follow Locastore, but the shape is the same for most locator apps.
1. Install the app and import what you already have. If your shops are already registered as Shopify locations, import them in one click. Their addresses and coordinates come across as they are.
2. Add the rest. For resellers, stockists and pickup points that do not exist in Shopify, either type each address or upload a CSV. Addresses get geocoded automatically, so you never look up latitude and longitude yourself.
3. Fill in the details that convert. Opening hours, phone number, website and a photo. These are the fields that turn "there is a shop in this city" into "I will go there this afternoon".
4. Tag your locations. If you have more than one type of location, tags let visitors filter. Common ones: Store, Reseller, Click & collect, Showroom.
5. Create the page and place the block. Create a page called Stores or Stockists, open the theme editor on it, and add the Store Locator block. Pick a layout, a map style and your brand color there.
6. Link it properly. Main menu and footer. A locator nobody can navigate to does not get used.
The local SEO side
A dedicated locator page is a page Google can index for queries like "brand name Bordeaux" or "where to buy brand name". A few things help it rank:
- Give the page a clear title and a short intro that names your main cities.
- Make sure the addresses appear as text in the HTML, not only inside the map.
- Keep opening hours accurate. Inconsistencies between your site and your Google Business profiles undermine both.
- Link the page from your product pages when a product is available in store.
Before you launch
Test the locator on a phone, in the two or three cities that matter most to you. Search a postal code, tap "Near me", check that distances look right, and open directions on one store. That five-minute check catches almost everything that goes wrong in practice. For layout ideas, look at these store locator examples from six brands.
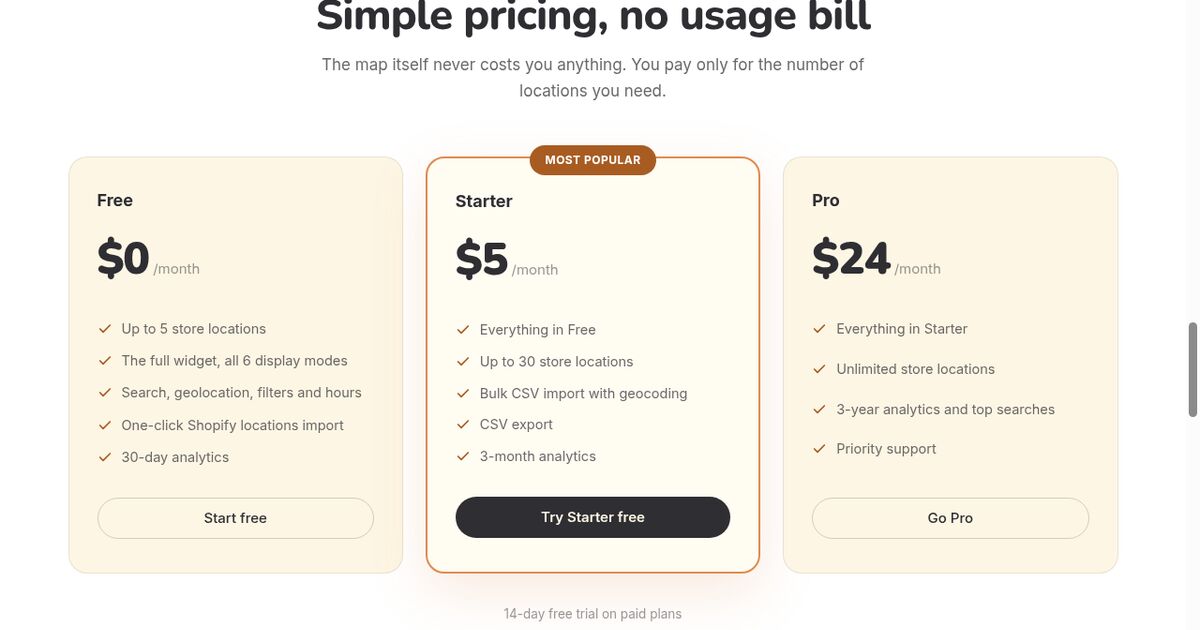
If you want a locator with no API key, no billing setup and no per-view cost, Locastore is free for up to five locations and takes about ten minutes to set up.
Frequently asked questions
Can I add a store locator to Shopify without an app?
You can embed a map manually with a custom Liquid section, but you then have to maintain the coordinates, the search, the distance calculation and the mobile layout yourself. It works for two or three shops with fixed addresses, and it becomes painful past that.
Where should I put the store locator on my site?
Give it a dedicated page, usually /pages/stores or /pages/stockists, and link it from the main menu and the footer. That page can rank on its own for local queries, which a locator buried in a contact page never does.
Do I need a Google Maps API key for a store locator?
It depends on the app. Google Maps based locators require a key, a billing account and a usage quota. Locators built on OpenStreetMap, like Locastore, need no key at all and have no per-view cost.